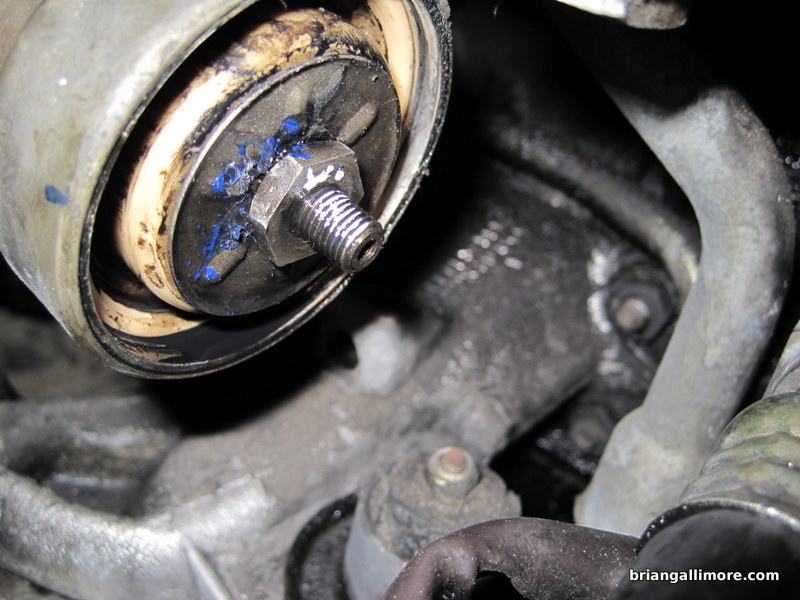
After lots of cleaning, close inspection with a flashlight and mirror, then lots of fiddling with a jewler’s screwdriver, I finally removed the cap off of the wastegate. This would probably be an easy task if you could see what you are doing, but it is mounted under the turbo, and you just can’t see or get to it. I’m guessing next time I’ll be better at it, now that I’ve done it once. A couple of good tutorials on Mercedes 617 wastegate adjustment are here and here. I had to grind down an old wrench so I guess I can say I ‘made’ another special tool. I’m getting annoyed at the number of special tools I’m having to have for these little tasks. Seems to me the car with an unlimited engineering budget could have managed to be maintained without a toolbox of single-use tools. I’ve got the intake and exhaust manifolds opened up right now, waiting on some parts to cap them off, so I couldn’t test drive it yet to see if my change brought the turbo back up to 11-12 psi. Oh, as if removal and adjustment wasn’t hard enough, getting that little retaining spring back in almost did me in. I needed three hands, but Amber refused to help me when she saw how dirty my hands were.
Once I got all that buttoned back up, I moved on to the air conditioner compressor removal. I decided to go ahead and replace it and the receiver/dryer. It is a GM-style compressor, so you can get them pretty cheap. It is mounted low on the engine, so it was one of the dirtiest parts on the whole car. I was pretty lucky that I didn’t crush my face when I took that last bolt out. I’m quitting while I’m ahead tonight!


