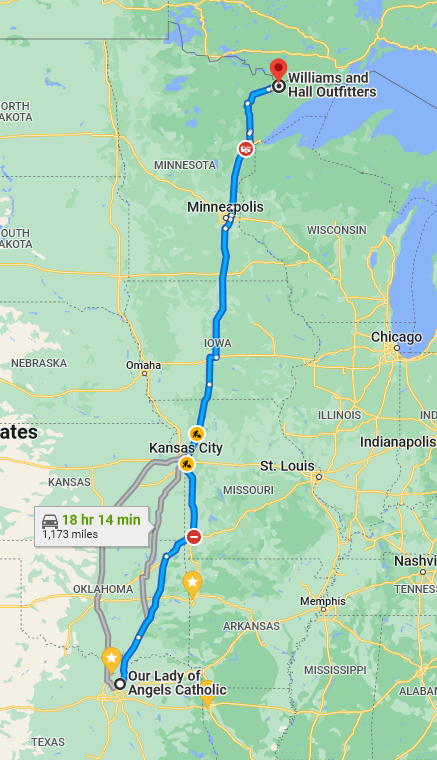
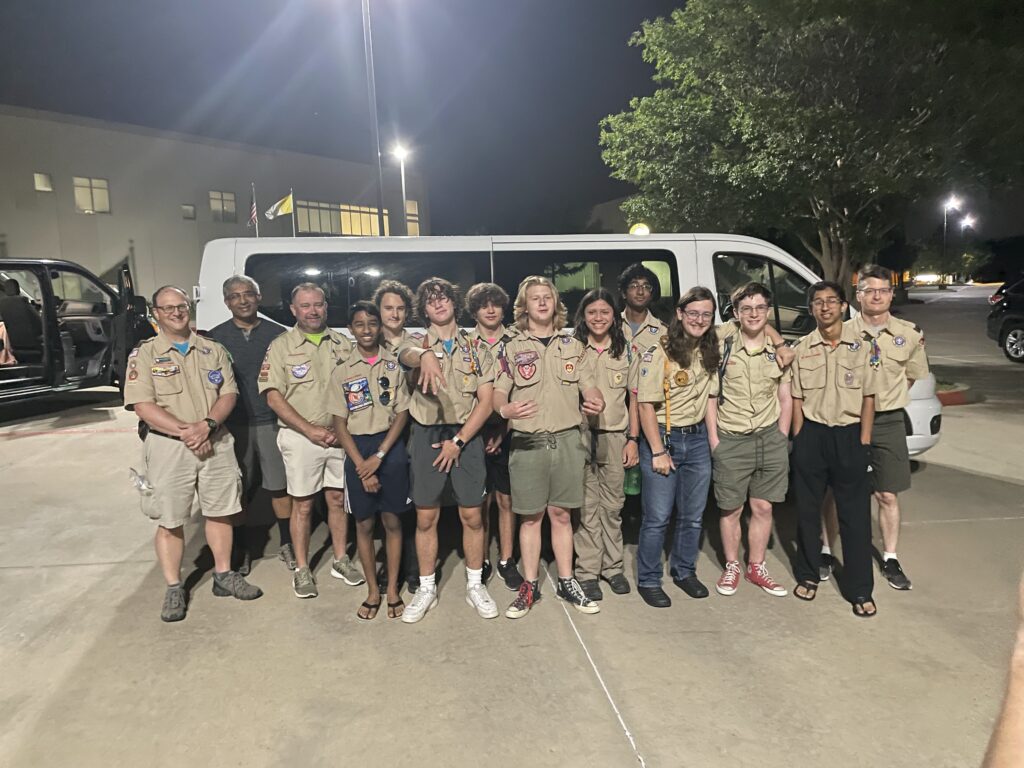
Canoed 65 miles (not including taxi or fishing), 23 portages in BWCA (Boundry Waters Canoe Area) for 9 days and 8 nights. Traveled by van about 2400 miles from Allen TX to Ely MN. The total trip was 13 days and 12 nights. We had 2 crews, with a total of 15 people.
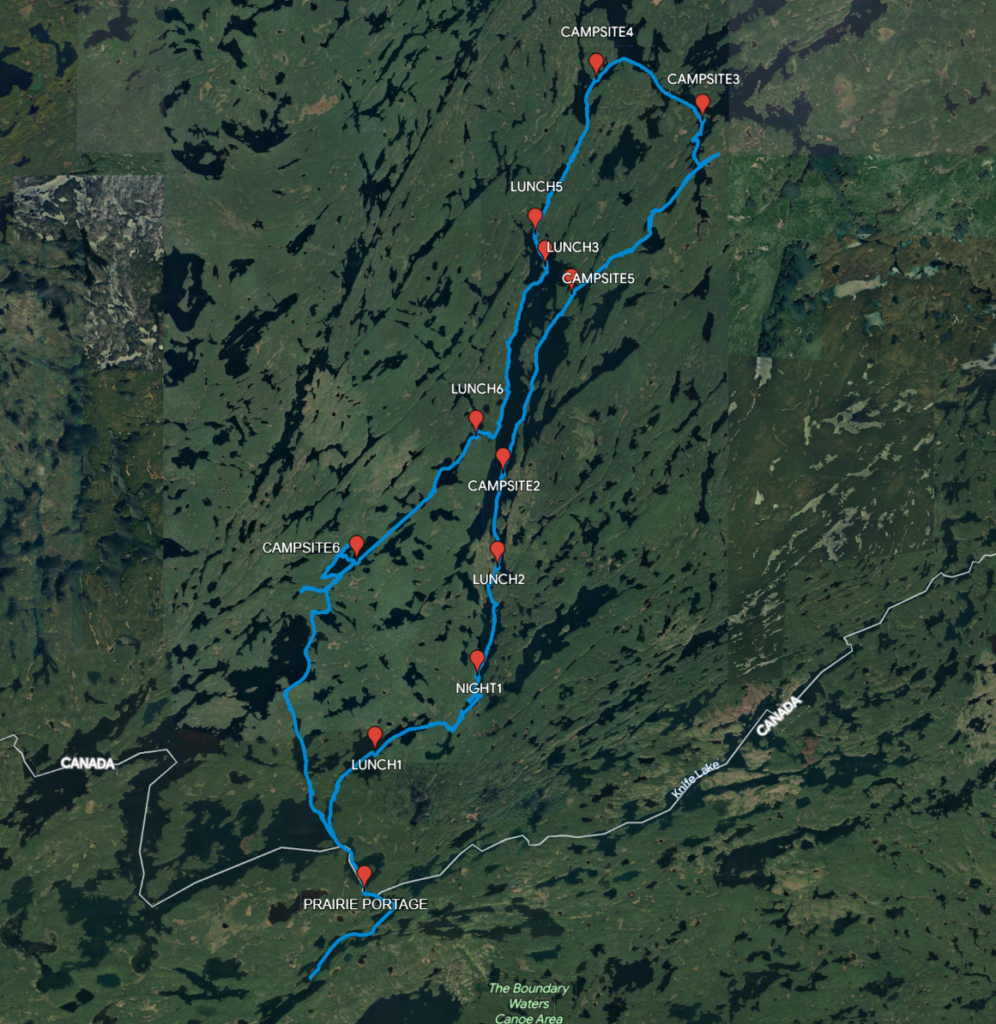

Day 1: 10.1 miles, 4 portages. Started at Prairie Portage, through Basswood Lake, Sunday Lake, Meadows Lake, and Agnes Lake. This was an exhausting day, both mentally and physically. The portages were very hard, the campsite we planned on staying at was already occupied, and the one we found was not great– lots of mosquitos. The highlight was the grilled flatiron steaks for dinner and getting to go to sleep right afterward. Sorted out food rations when at camp and realized we accidentally ate 2 lunches today instead of 1 and were short the meat from 1 more lunch. Our fresh eggs broke and leaked goo all over other items. Already used up 1 of our 5 propane bottles.
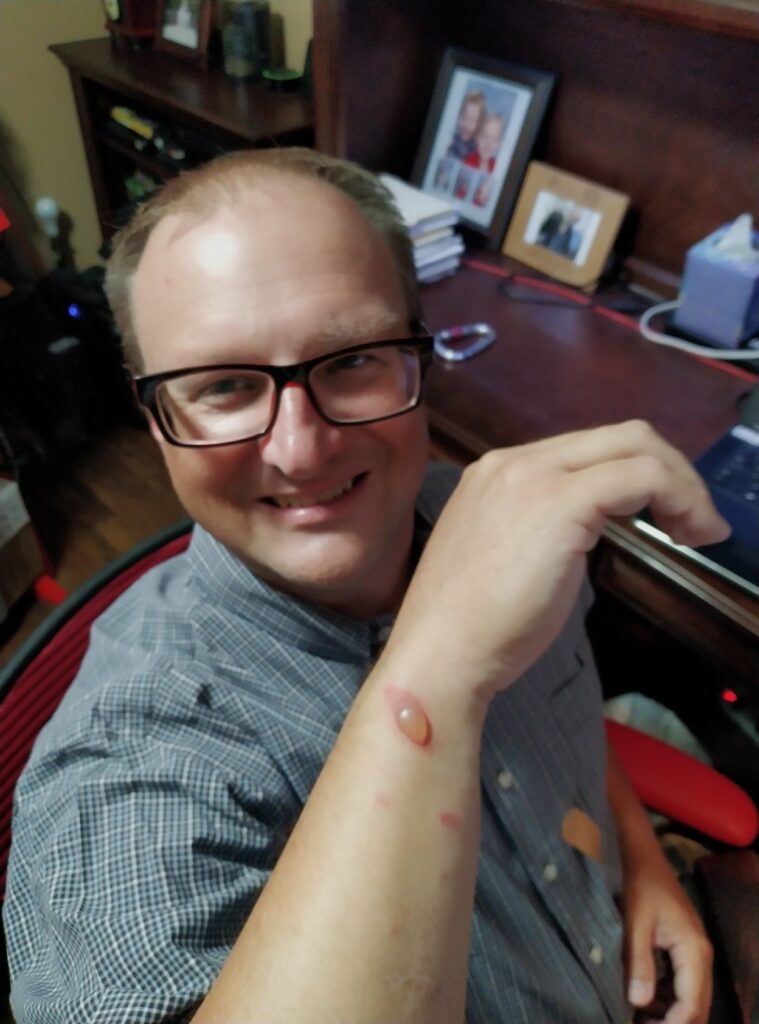
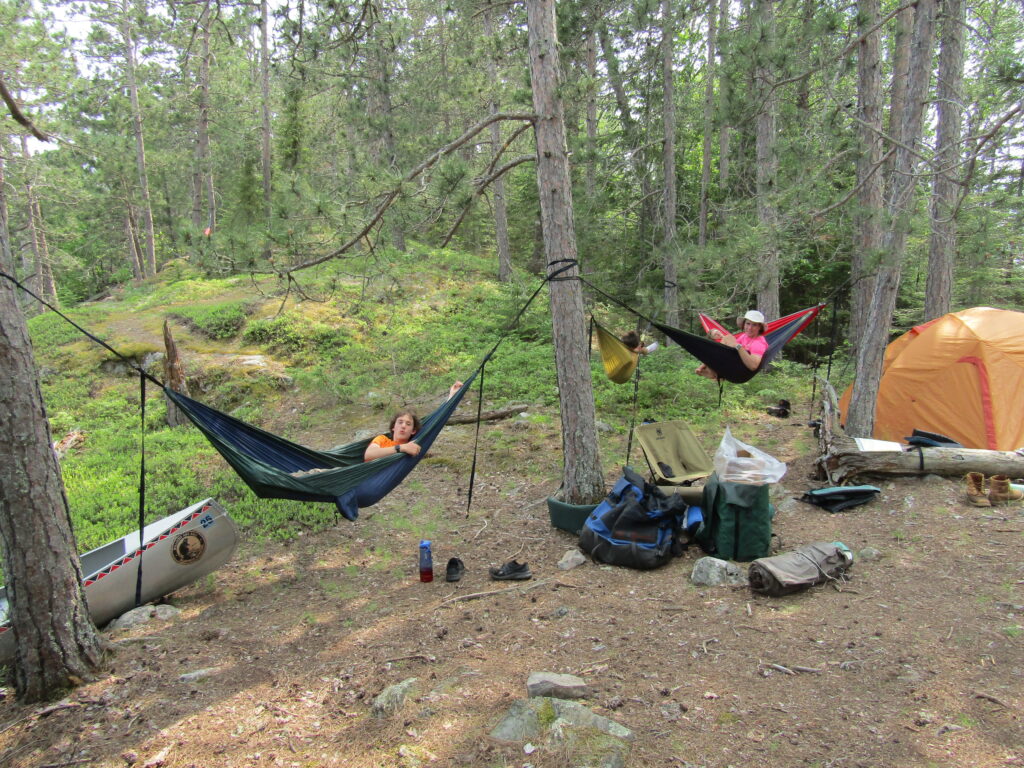
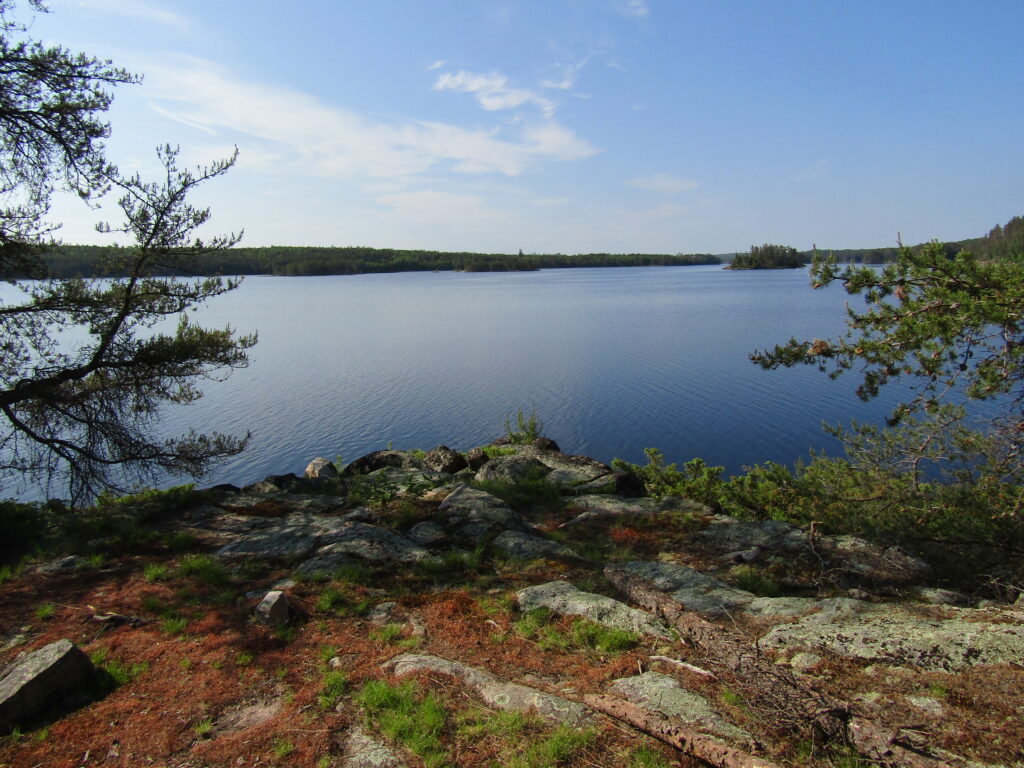
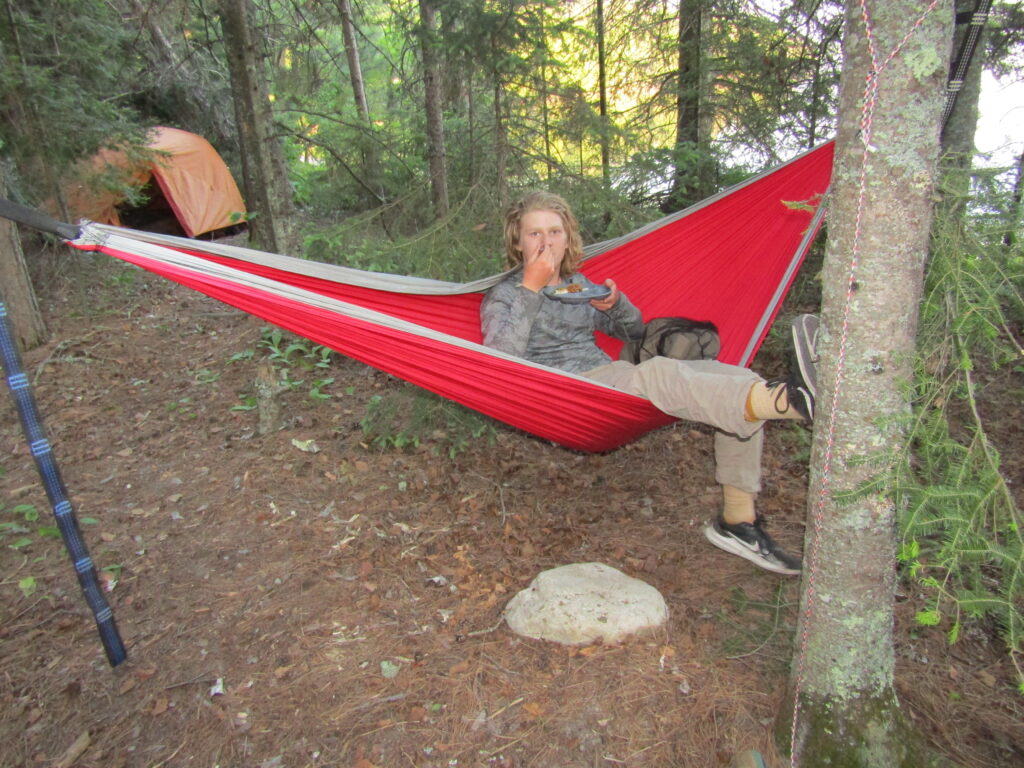
Day 2: 6.2 miles. Agnes Lake. A relaxing day, set up hammocks, and a little fishing. I slipped on the rocks near the shore while cleaning a plate and fell right on my tailbone. Very painful in the moment and for weeks later!
Day 3: 14.8 miles, 3 portages. Agnes Lake, Bird Lake, Anubis Lake, Kawnipi Lake. Big push to get through Agnes and on to Kawnipi. Struggled to find one of the portages, got lost once, and didn’t get to a campsite until sunset. Long and hard day on the water. Woke up at 3am shivering from the cold, and realized I needed a pad under my sleeping bag to retain heat.
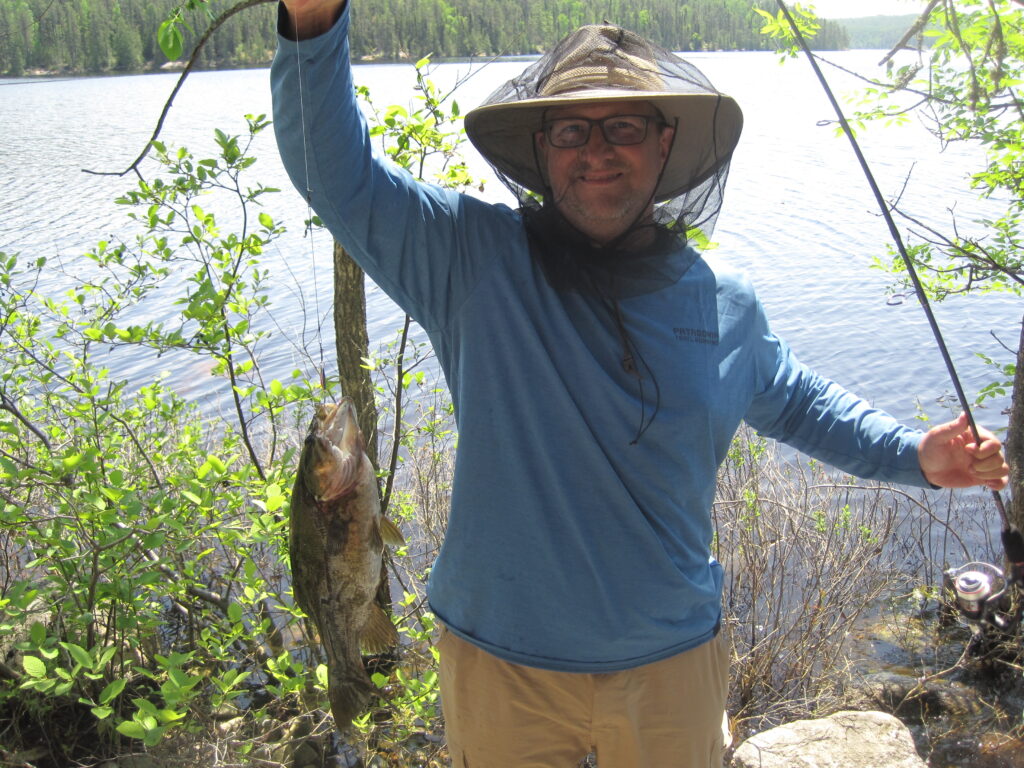
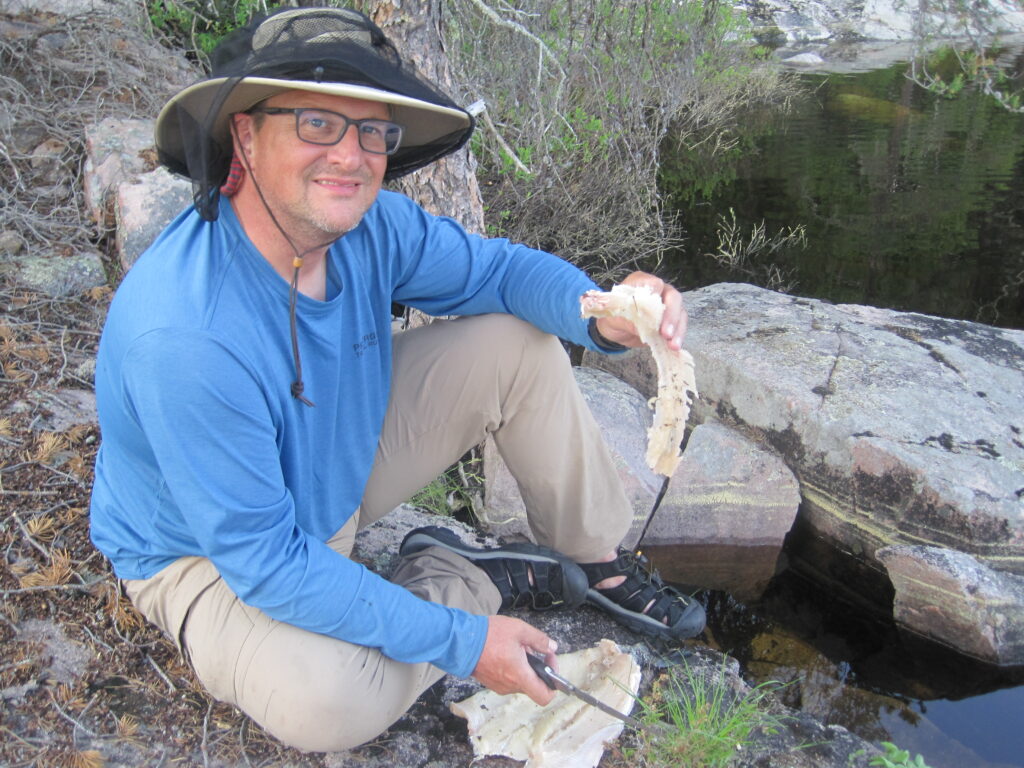
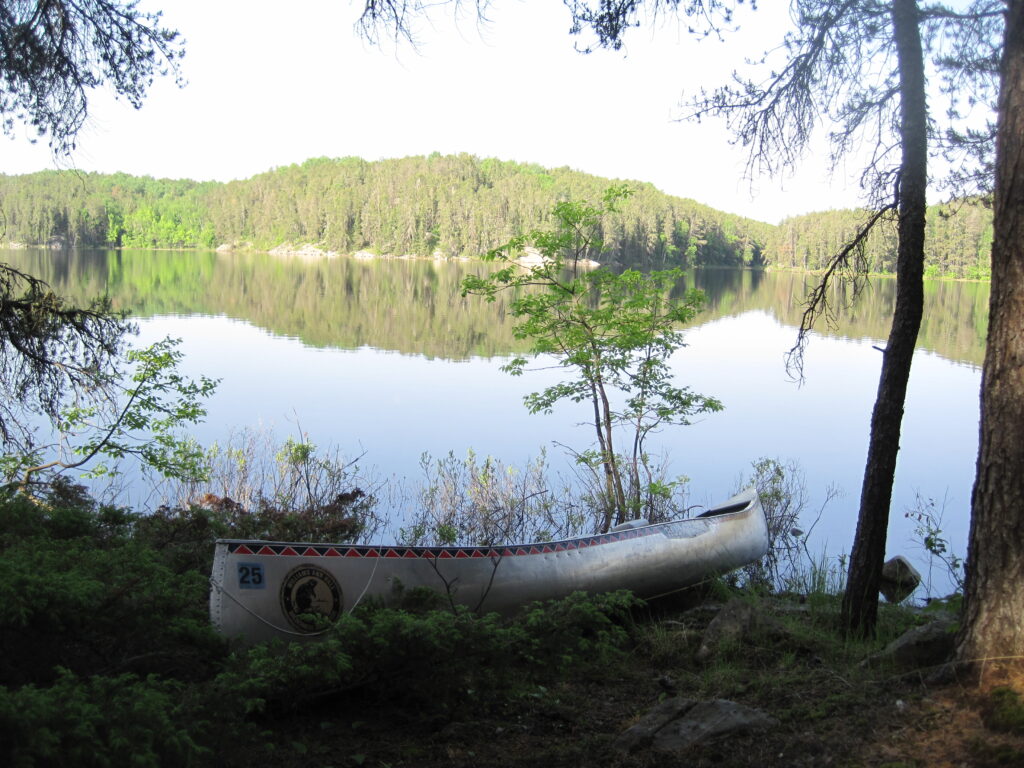
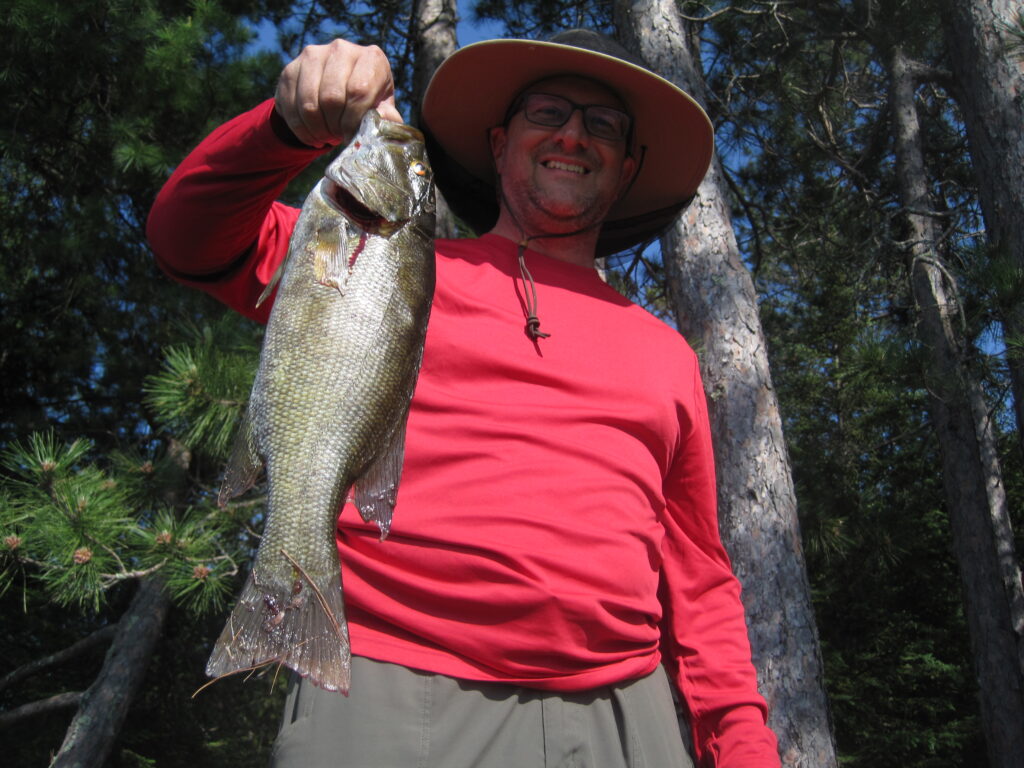
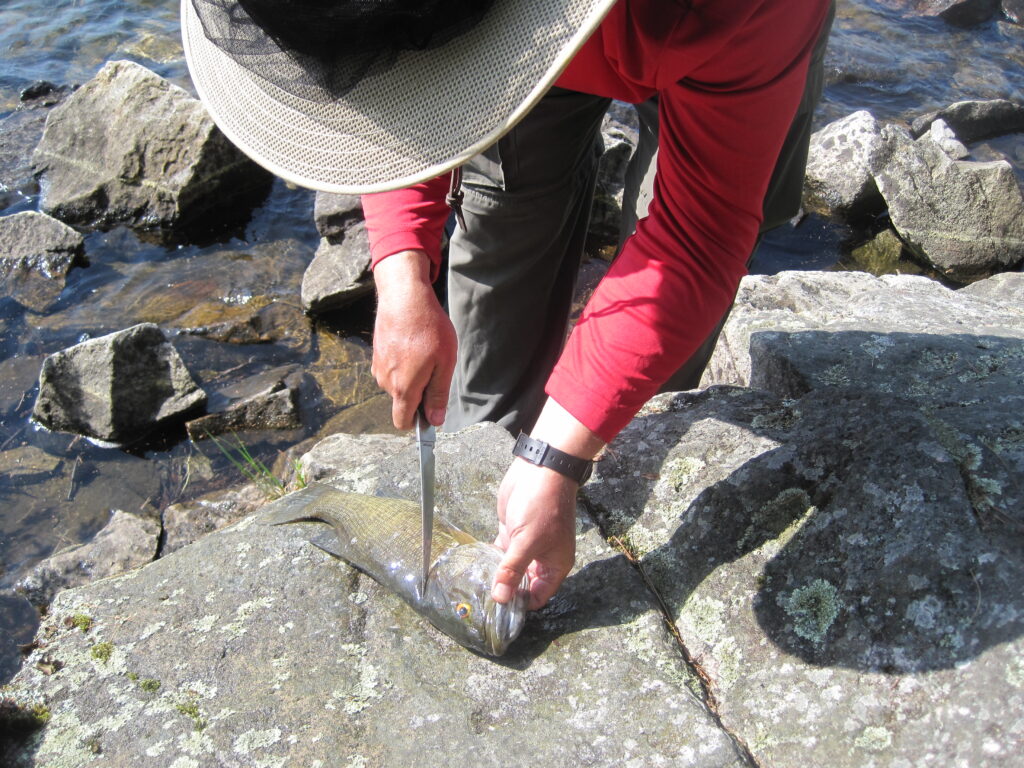
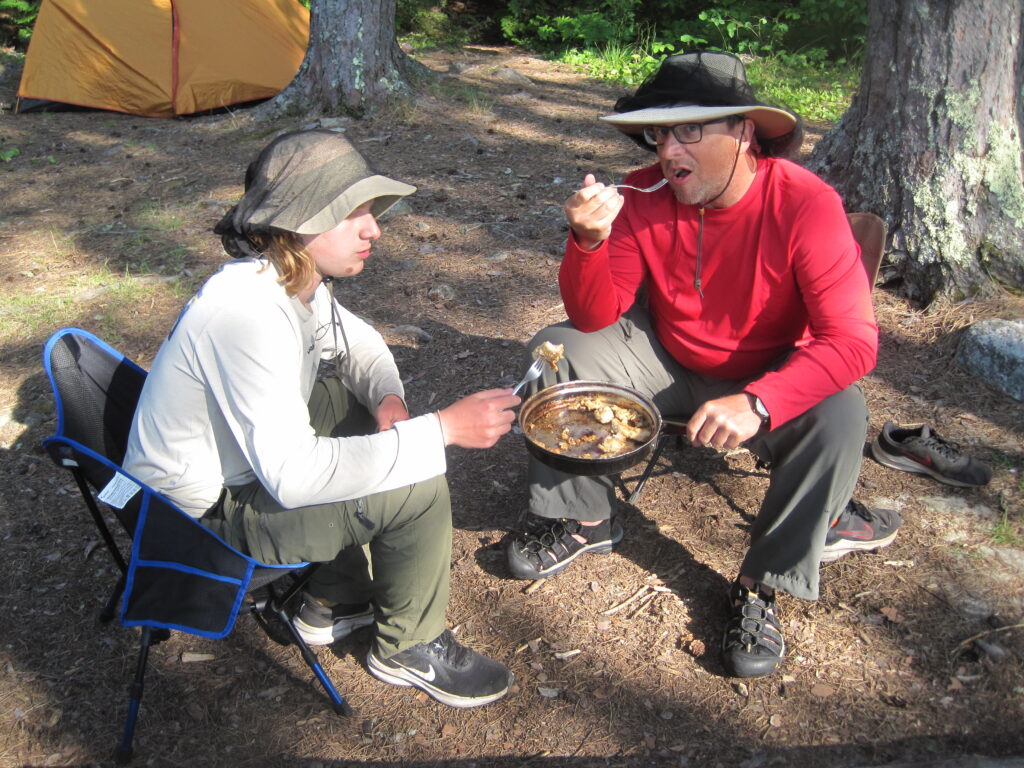
Day 4: 4.1 miles. Kawnipi Lake. We moved campsites and spent the afternoon fishing. The crew caught enough fish to make a big dinner from it that night. I had the highest fish count of the day with 3. We caught small mouth bass and northern pike. We convinced our crew leader to shorten our trek a little to give us more slack time. Some of us were worried that we might not have enough time to make the return trip if anything went wrong.

Day 5: 6.0 miles, 3 portages. Kawnipi Lake, Keewatin Lake, Agnes Lake. I made the decision to switch out my water shoes for dry socks and boots at each portage. This eats up some time but gives me much better footing and support, which is much needed. The boys don’t have a problem slipping and falling as much as I do!
Day 6: 12.0 miles, 5 portages. Agnes Lake (big waves/wind), Silence Lake, Sultry Lake, Summer Lake, Noon Lake, and Shade Lake. (GPS batteries died) I slipped and fell on a wet slimey rock at a portage and got all my gear wet, including my sleeping bag. That made for a cold night! We accidently found the other crew from our troop and shared their campsite for the night. (it was a huge campsite, so space was not a problem) It was good to catch up and swap stories about our trek so far.
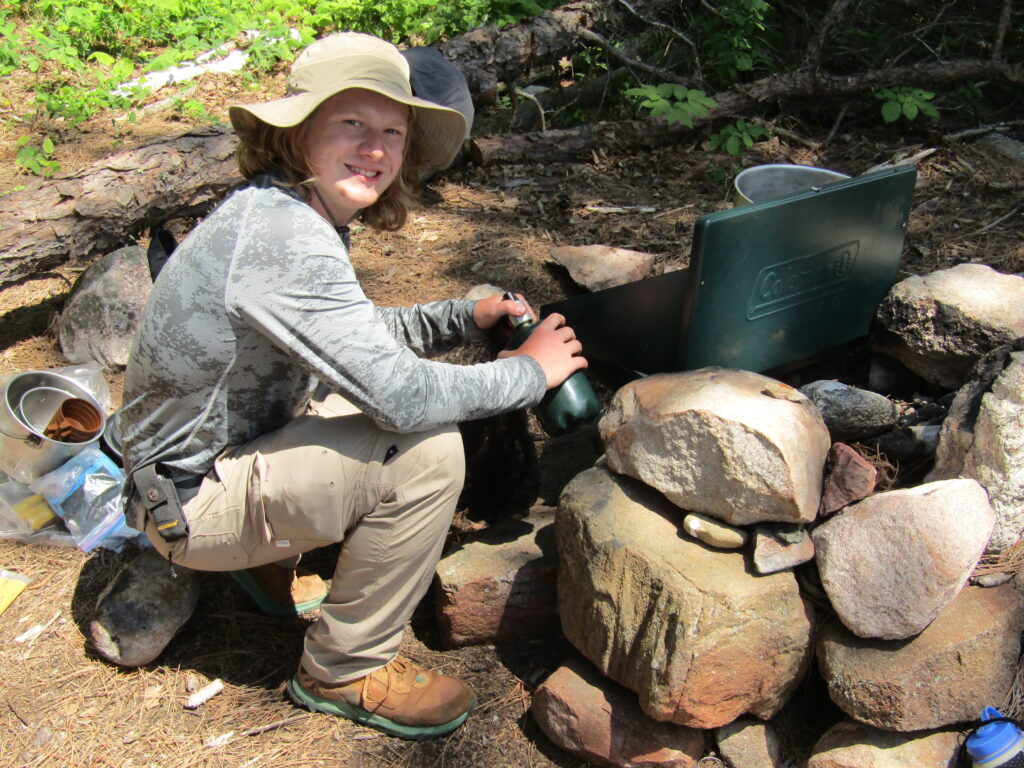
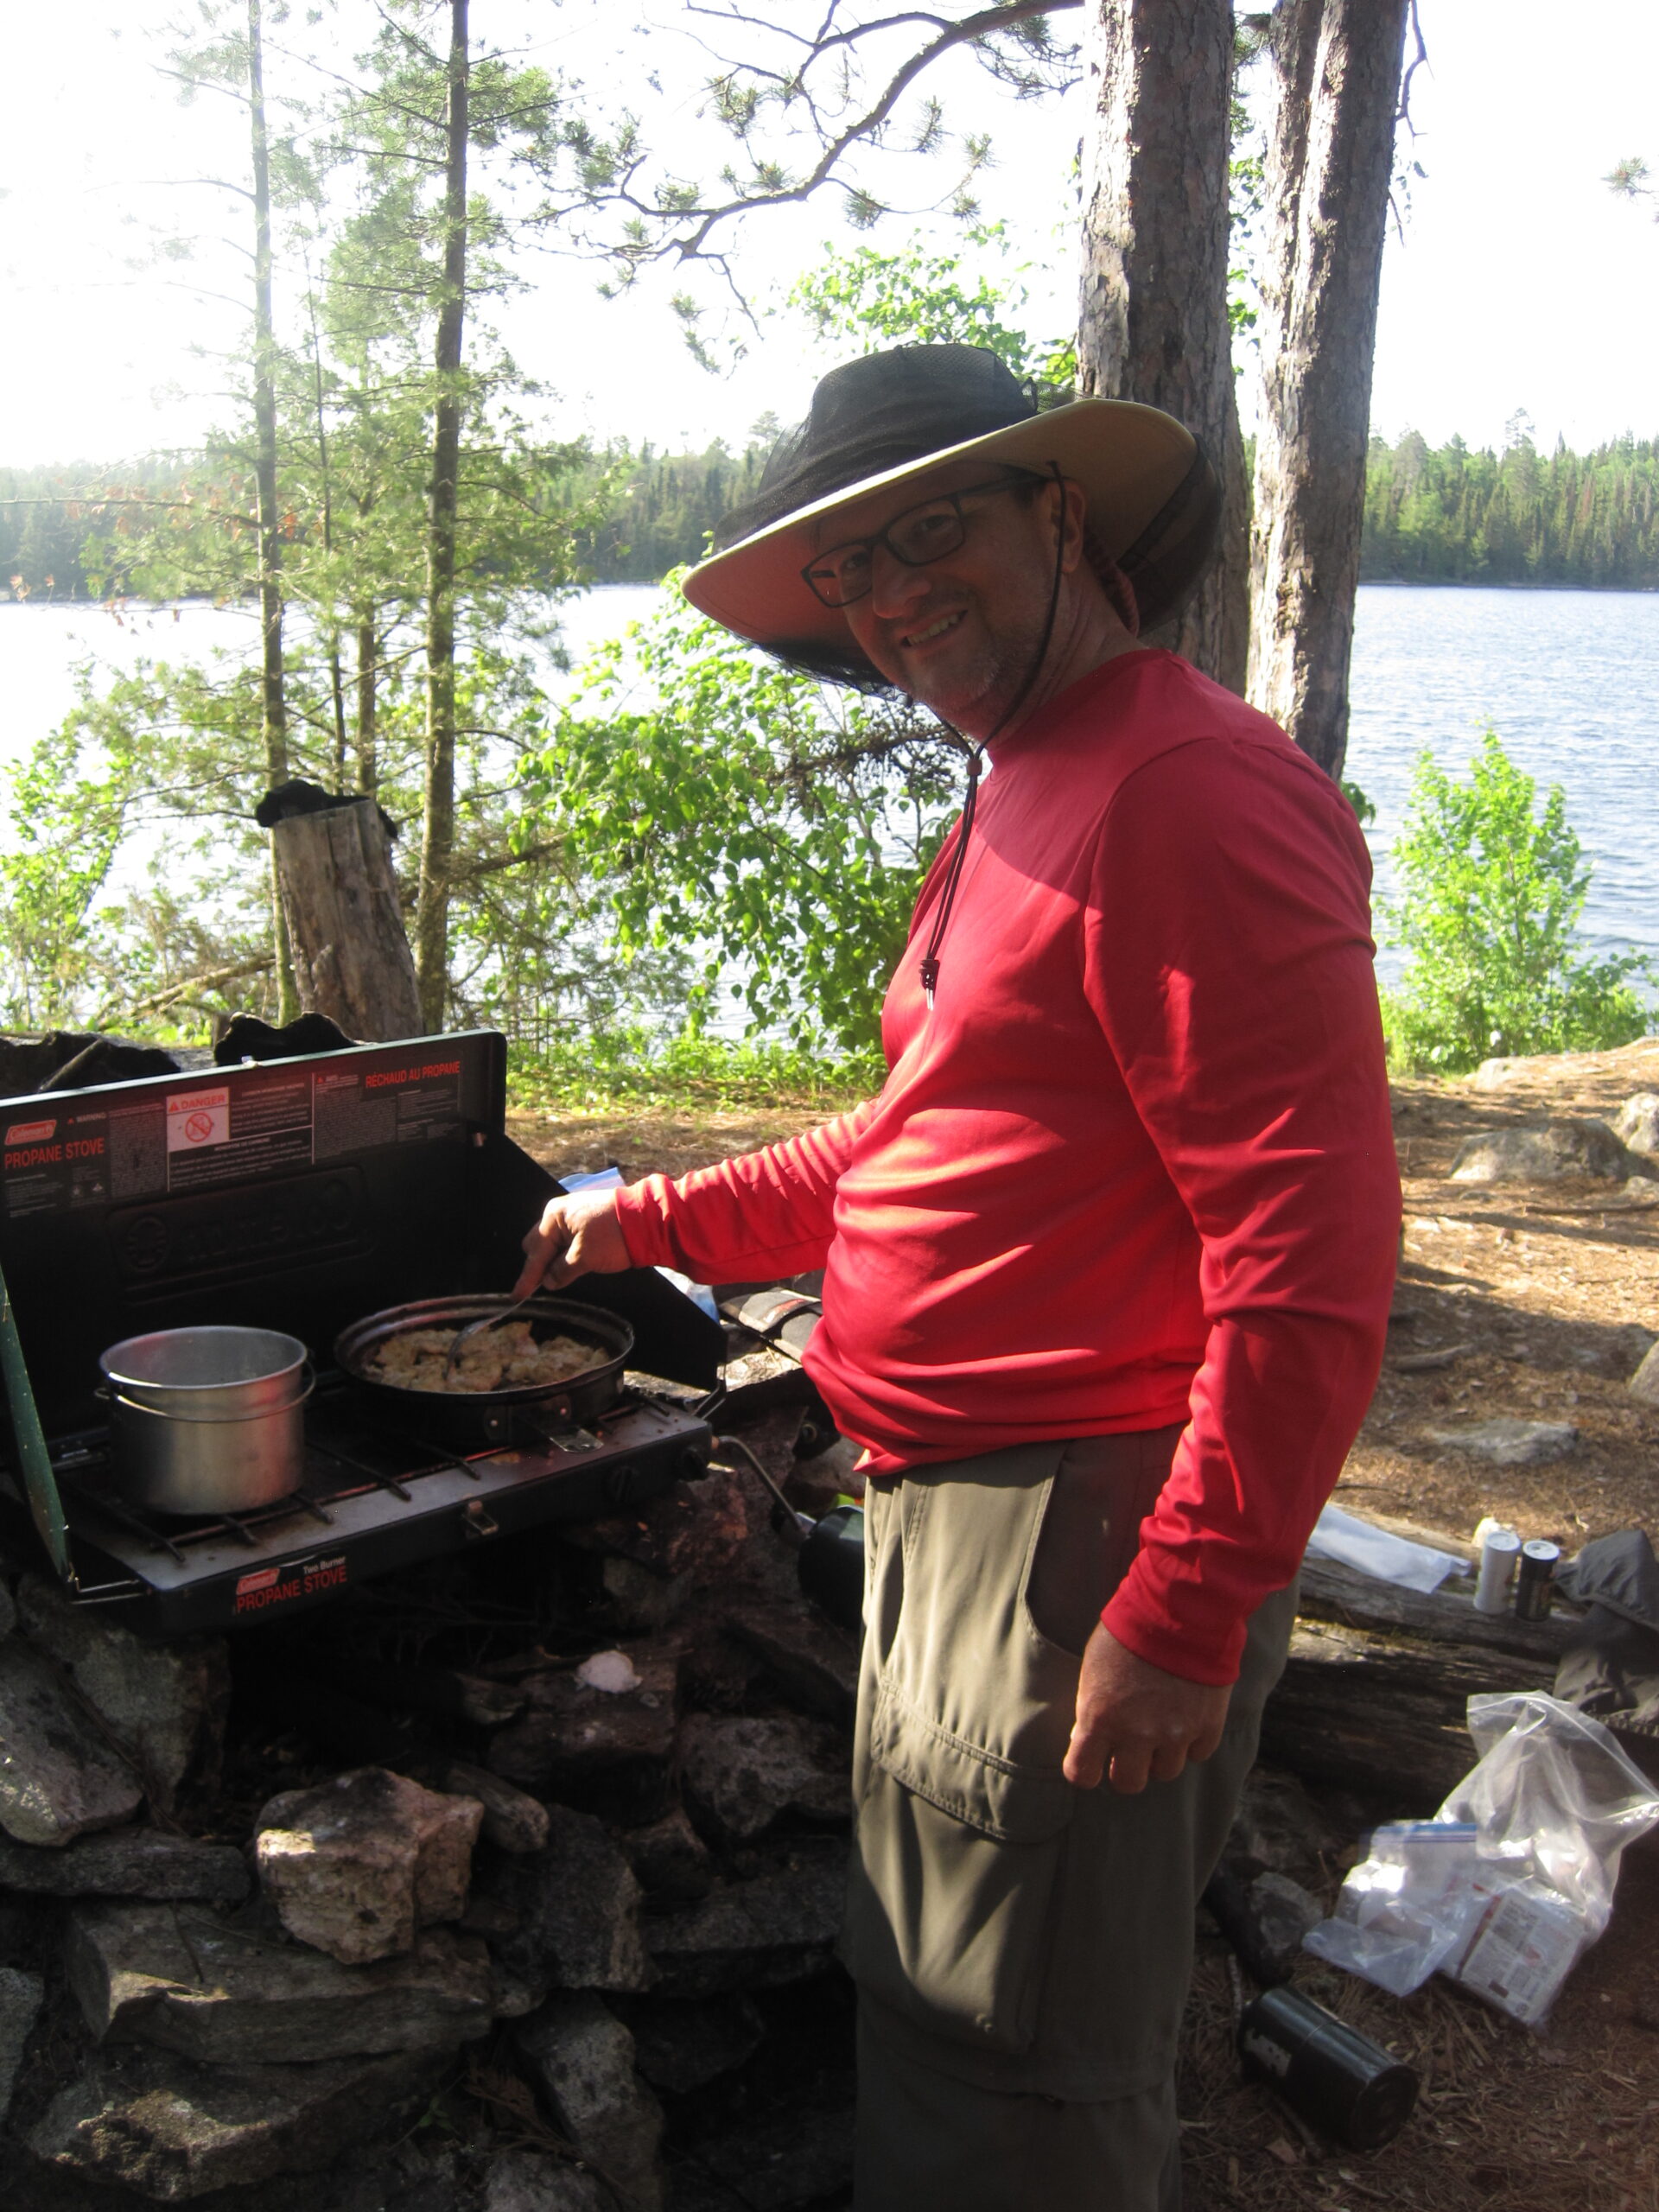
Day 7: 0 miles. Shade Lake. We all slept late, relaxed, took naps, and did some fishing. I made real coffee for the first time, which tasted much better than the instant. The highlight of the day was catching and eating my own fish. (only shared it with Bryson, who paddled me around the lake all afternoon)

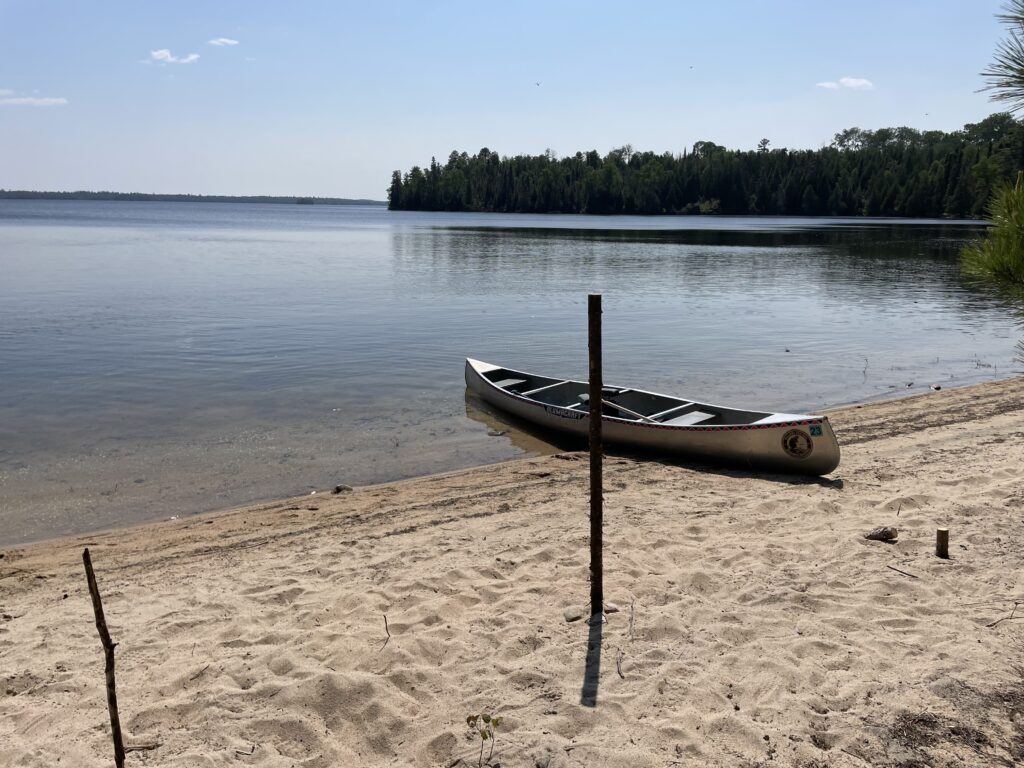
Day 8: 8.2 miles, 7 portages. Shade Lake, West Lake, South Lake, a few beaver dams, and Basswood Lake. Camped at the only sandy beach, where we relaxed in hammocks, took naps, swims, and sat in the sun on the beach. The mosquitos were light due to the huge swarms of dragon flys, but the dragon flies disappeared at sundown and the blood-sucking devils had their way with us.
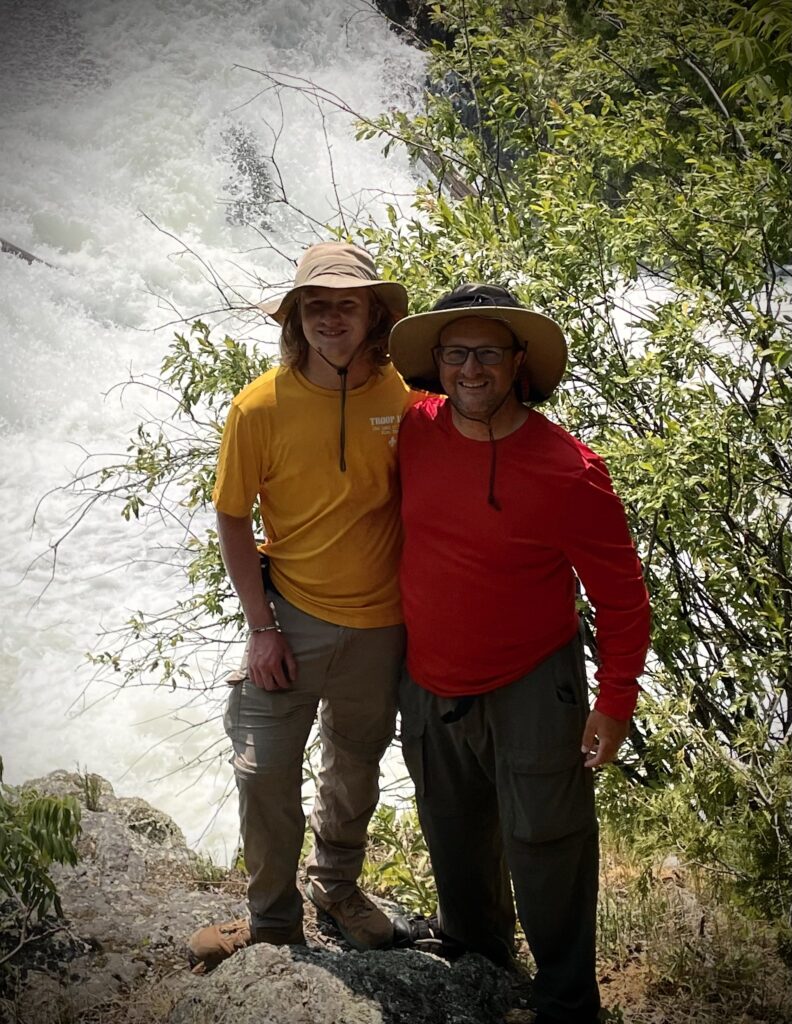
Day 9: 3.6 miles, 1 portage. Basswood Lake to Prairie Portage. A very leisurely float (the wind was at our back the whole time) to the pickup point. We at lunch in the shade under some trees on the lake, and explored the falls at Prairie Portage.