
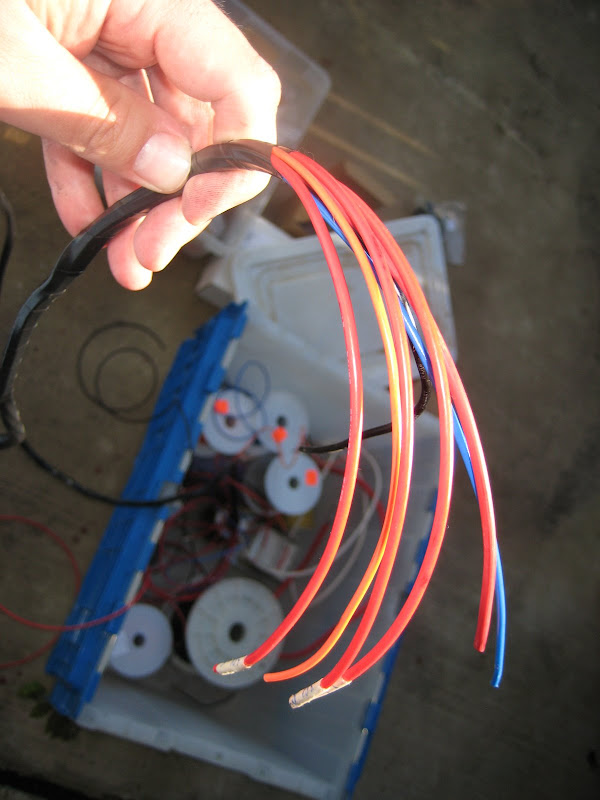
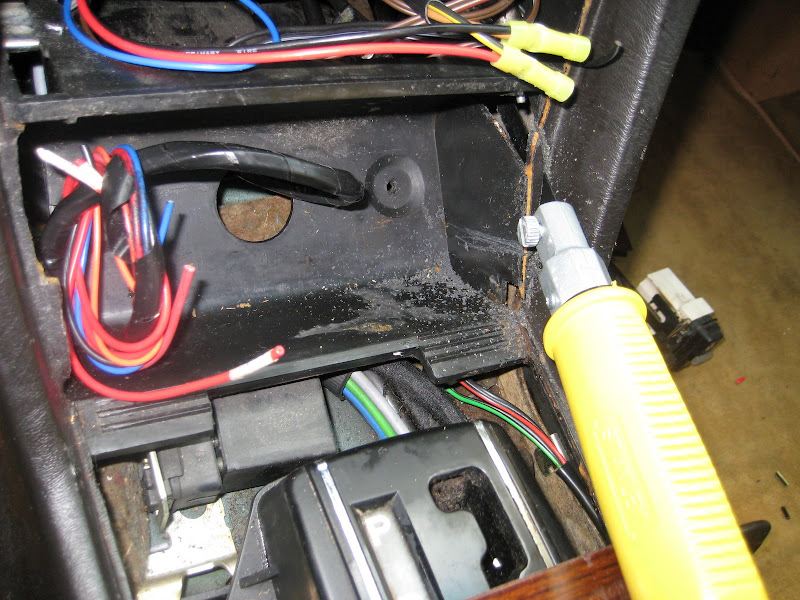
My goal of having Betty running on WVO before Thanksgiving failed, but I am determined to get it done this weekend. I had Friday off, which gave me a good chunk of time to get it done. First, I made a wiring harness to connect the components in the engine compartment to the new switches and gauge.
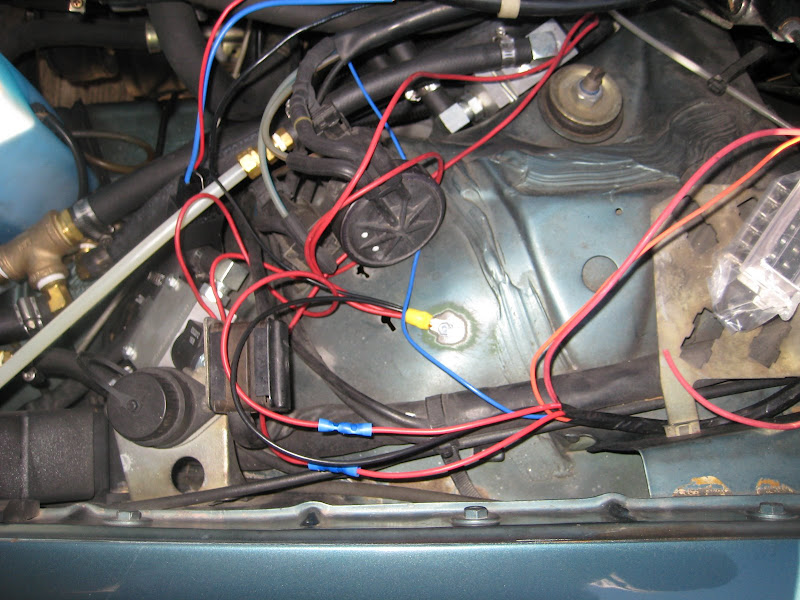
Connected up the solenoid valves and temperature sending unit.
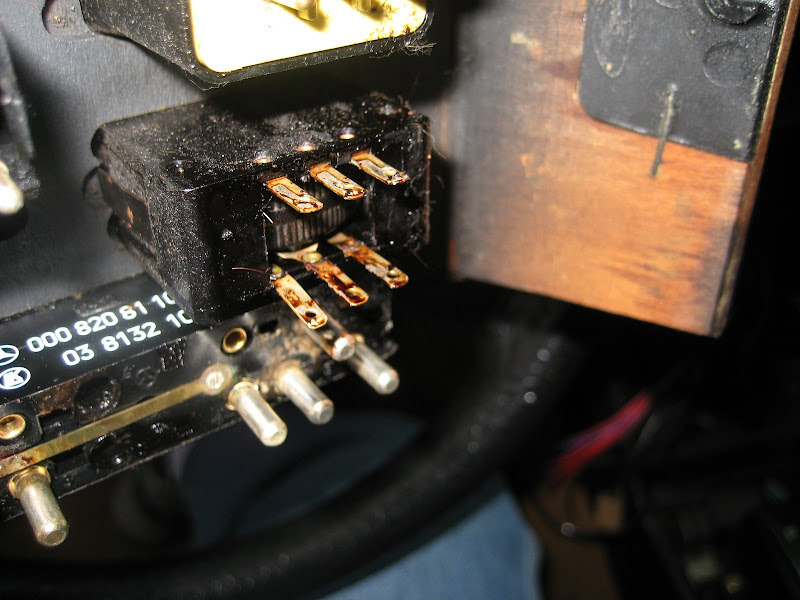
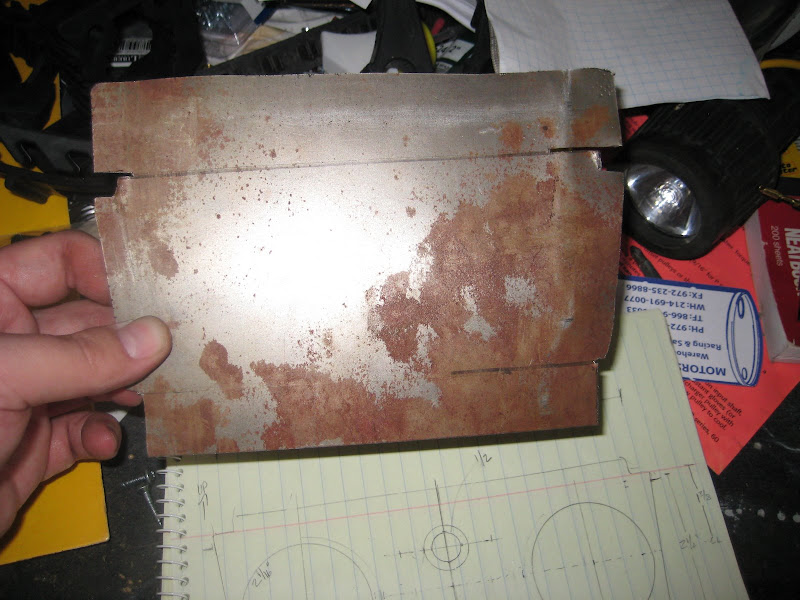
One of the reasons this project is taking me so long is that the car is filthy. Every time I take a new panel off, I find more grime.

I’m guessing this is syrup from cokes.
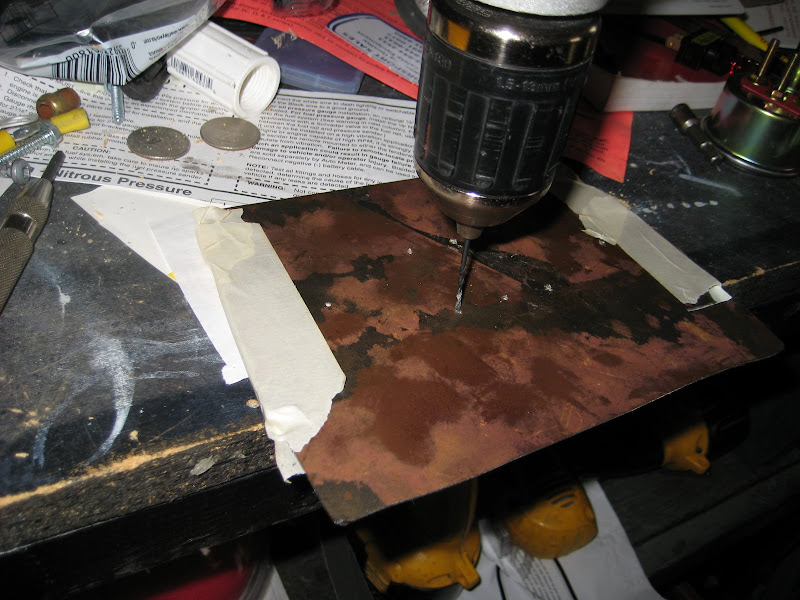
I drew the layout of the switches and gauges to scale on a piece of paper.
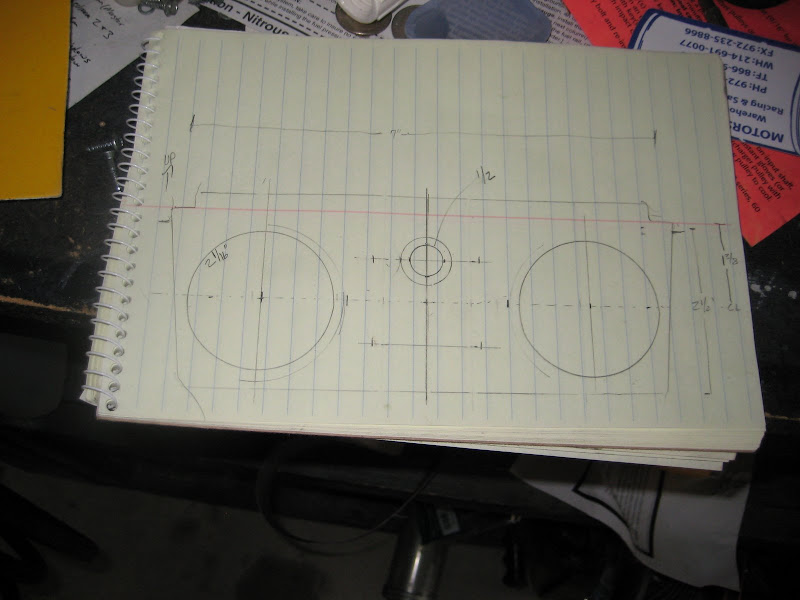
Then cut a piece of sheet metal.
Punched the center points of everything on to the sheet metal.
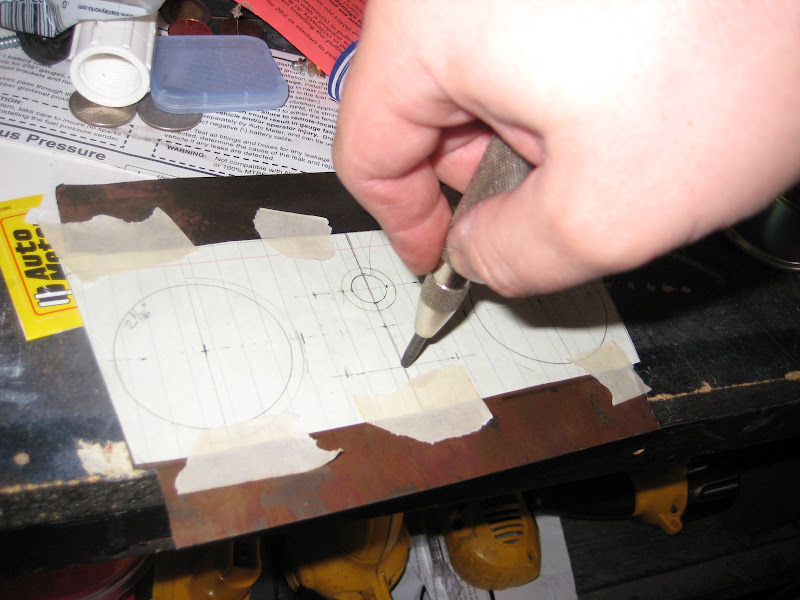
Drilled the sheet metal.
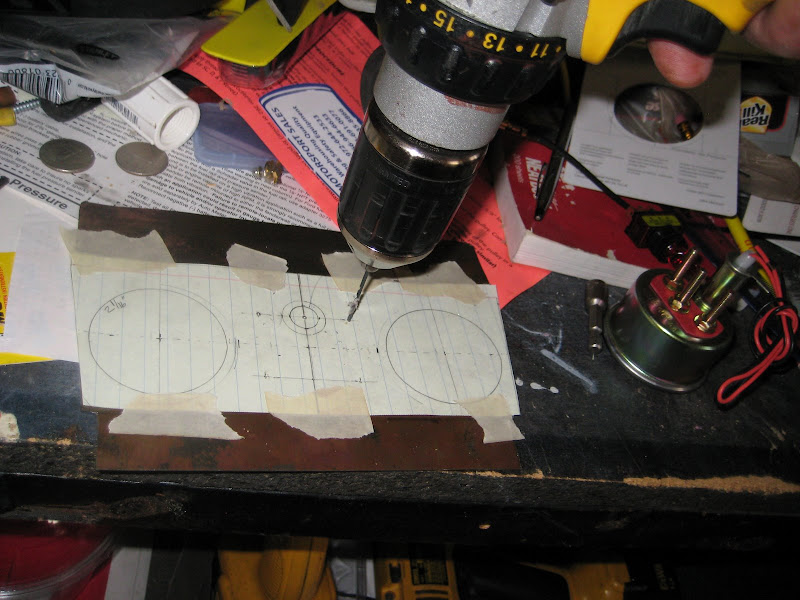
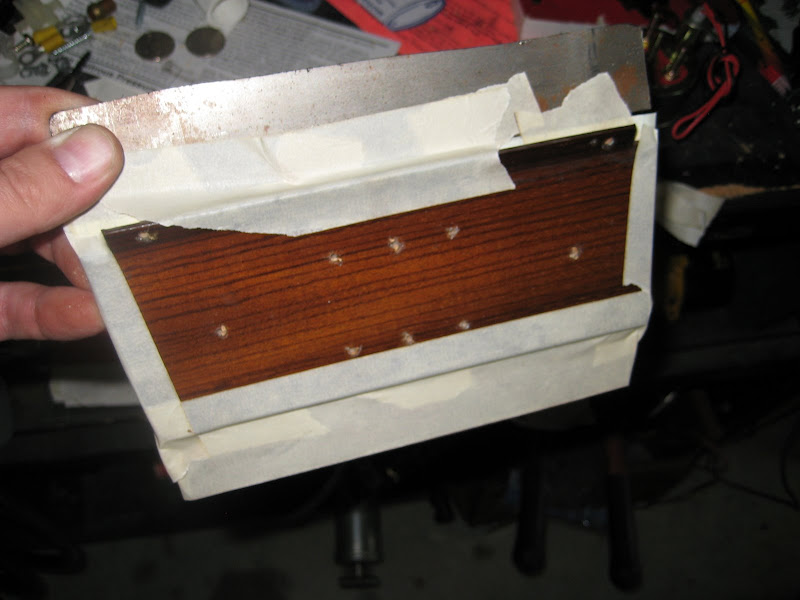
Taped the ashtray trim to the sheet metal.
Drilled again, transferring the holes to the wood.
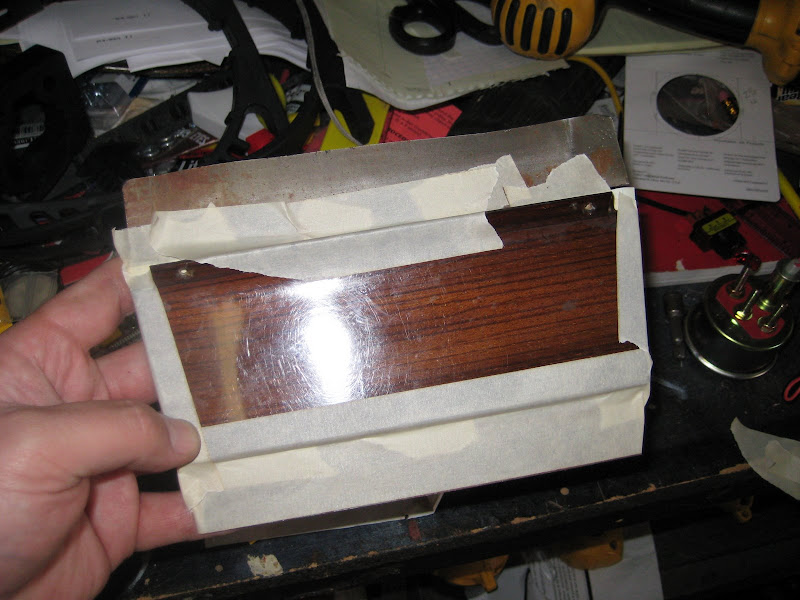
Cut the holes to the correct size.
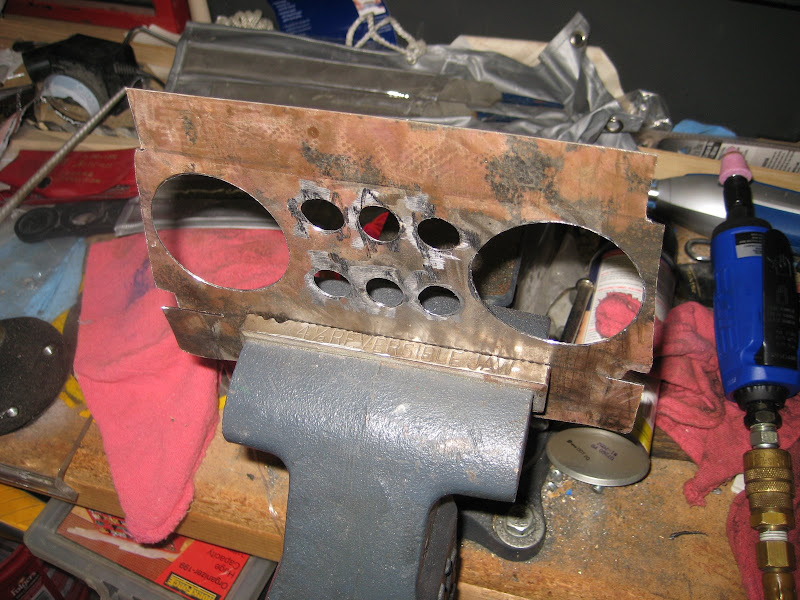
Bent the sheet metal to fit the old ashtray hole.
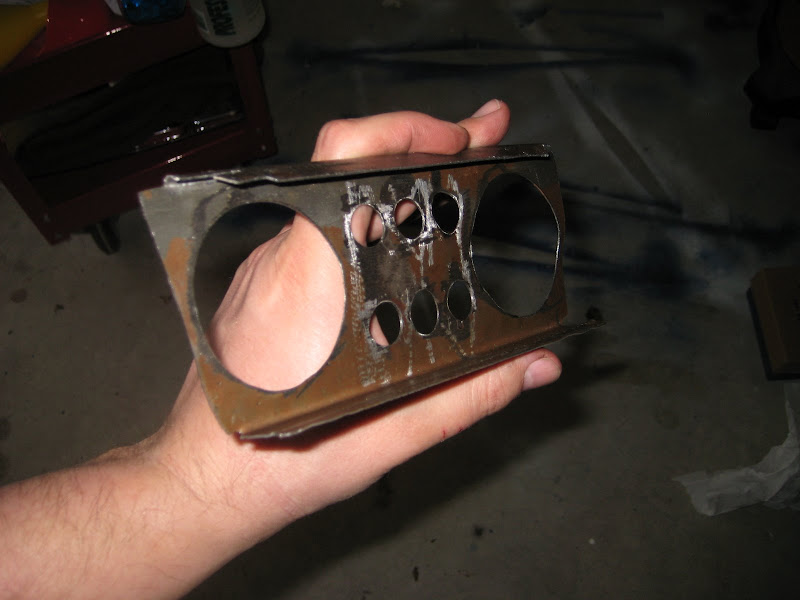
The hole on the left is for the WVO tank level gauge.
I had to clearance some material that was interfering with the gauge on the right.
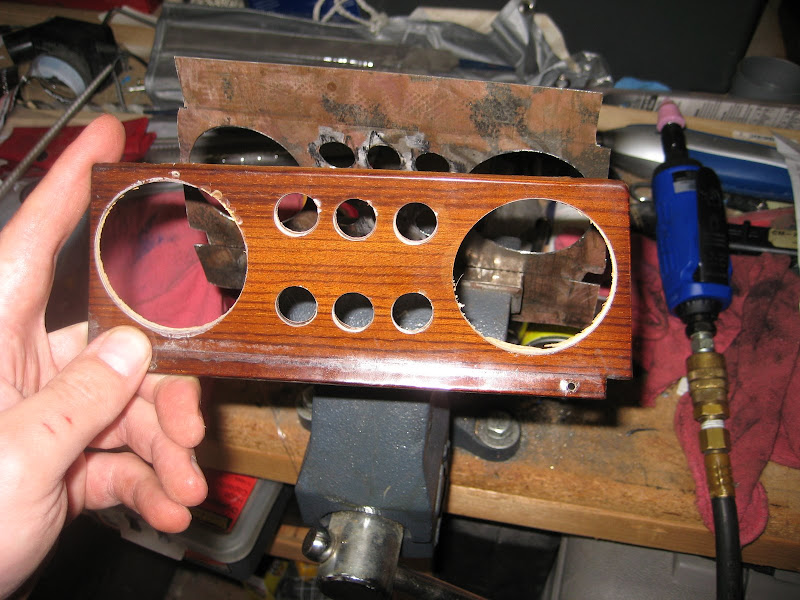
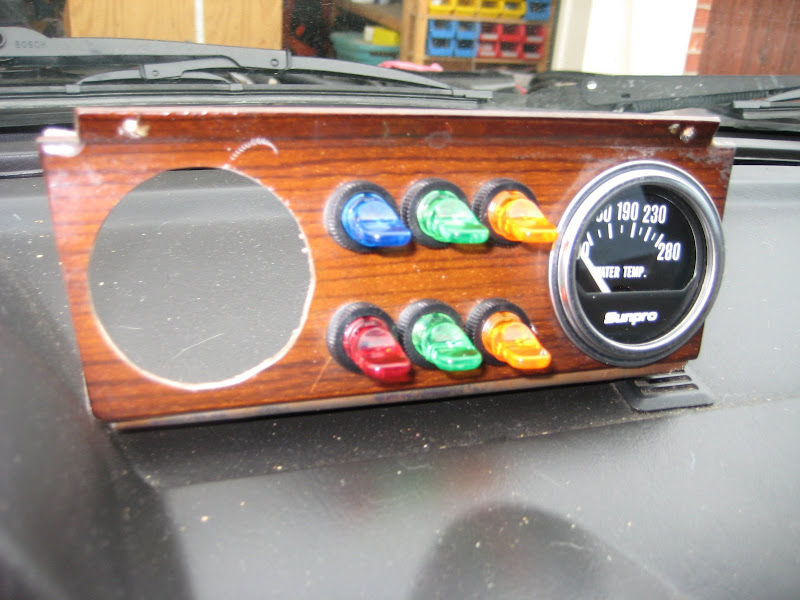
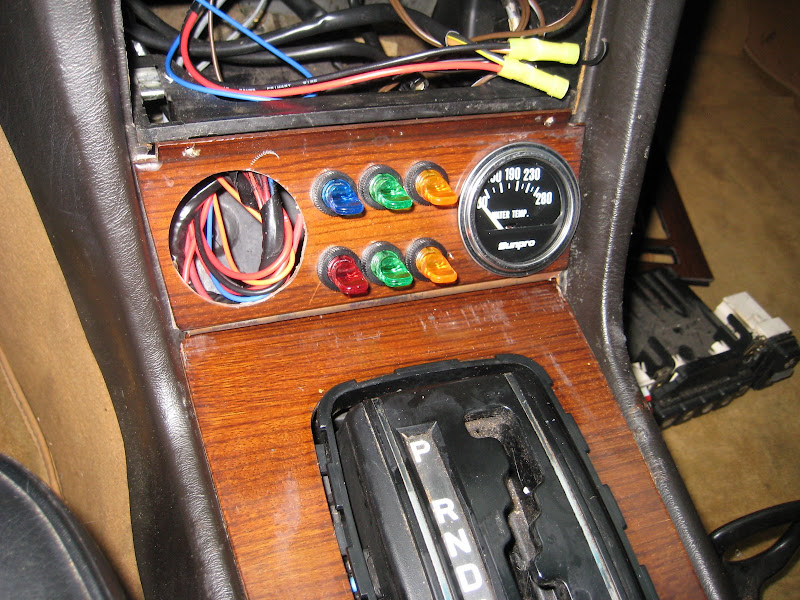
This give you an idea of what it will look like. I still have to secure the panel to the console.
Crimping all of those terminals took me forever.

I also ran a fat wire over the battery and connected a relay operated by the ignition switch. I didn’t take pictures of that because I was too cold.
Tomorrow, I am going to rig up a fuel can in the trunk to test it all out with.
WVO How-To Pages Updated:
Parts
Installation


Cool – lookin’ good.
Just what you need. Another vehicle with red, green, and blue lights all over the place.